Recovering a DAQAstra
If your DAQAstra is not showing up on the application interface and the network is already properly setup for the current system configuration, then follow these steps where the procedure to flash the factory firmware onto the DAQAstra via USB programmer are laid out.
If unsure about the network setup, refer to
Connecting DAQAstra.
Materials & Setup
-
A power source for the DAQAstra. One of the below will suffice:
- Power-Over-Ethernet (PoE), e.g. an RJ45 cable to an ethernet switch that supplies PoE.
- 12-32V DC on Auxilliary Power inputs on the SuperSeal.
-
Female-to Male-jumper wires
-
An STLink (pictured below). Should the machine hosting the DAQAstra application lack a USB-A port, a USB-C to USB-A adapter will be needed, too.
If the host is running Windows, the STLink USB Device drivers must be installed. Get them here.

Procedures
- Ensure the DAQAstra is not powered & there is no ethernet cable plugged in.
- Remove the lid of the DAQAstra enclosure.
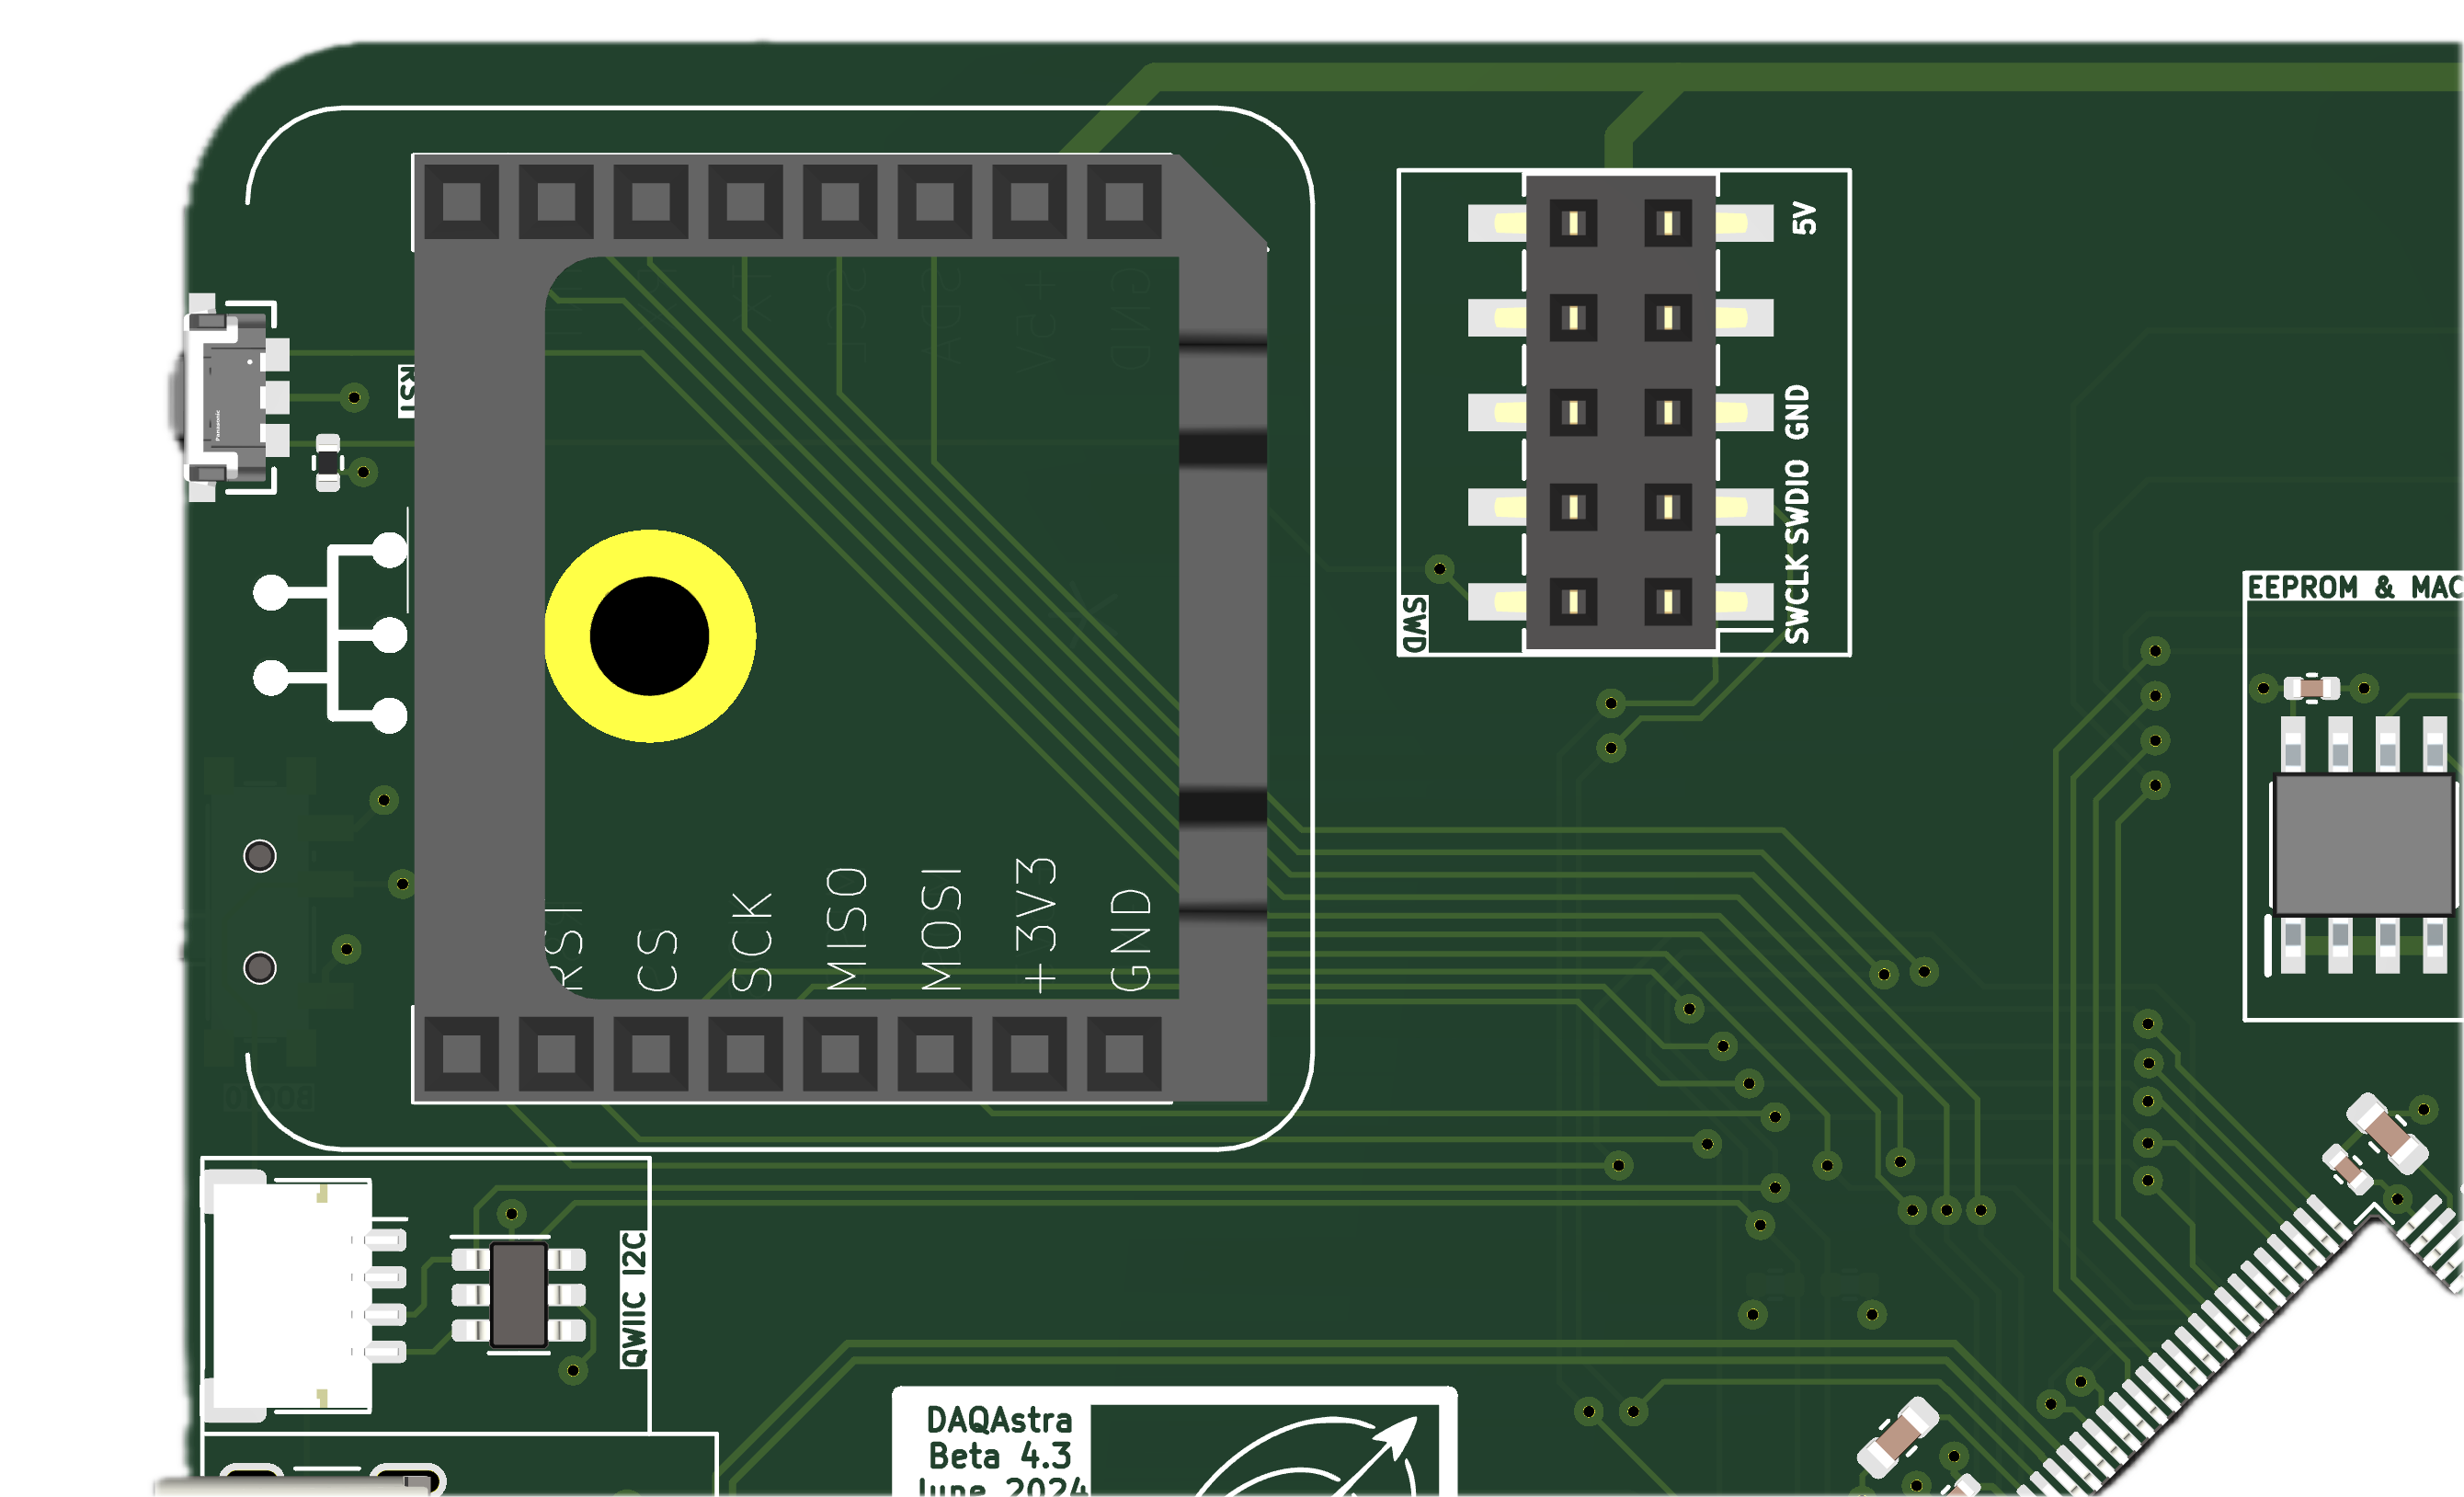
- Using the three jumper wires, connect the STLink's SWCLK, SWDIO, and GND pins (refer to legend on the STLink noting the depection of the connector shroud's knotch) to the DAQAstra's program header, which also has labels, shown below.
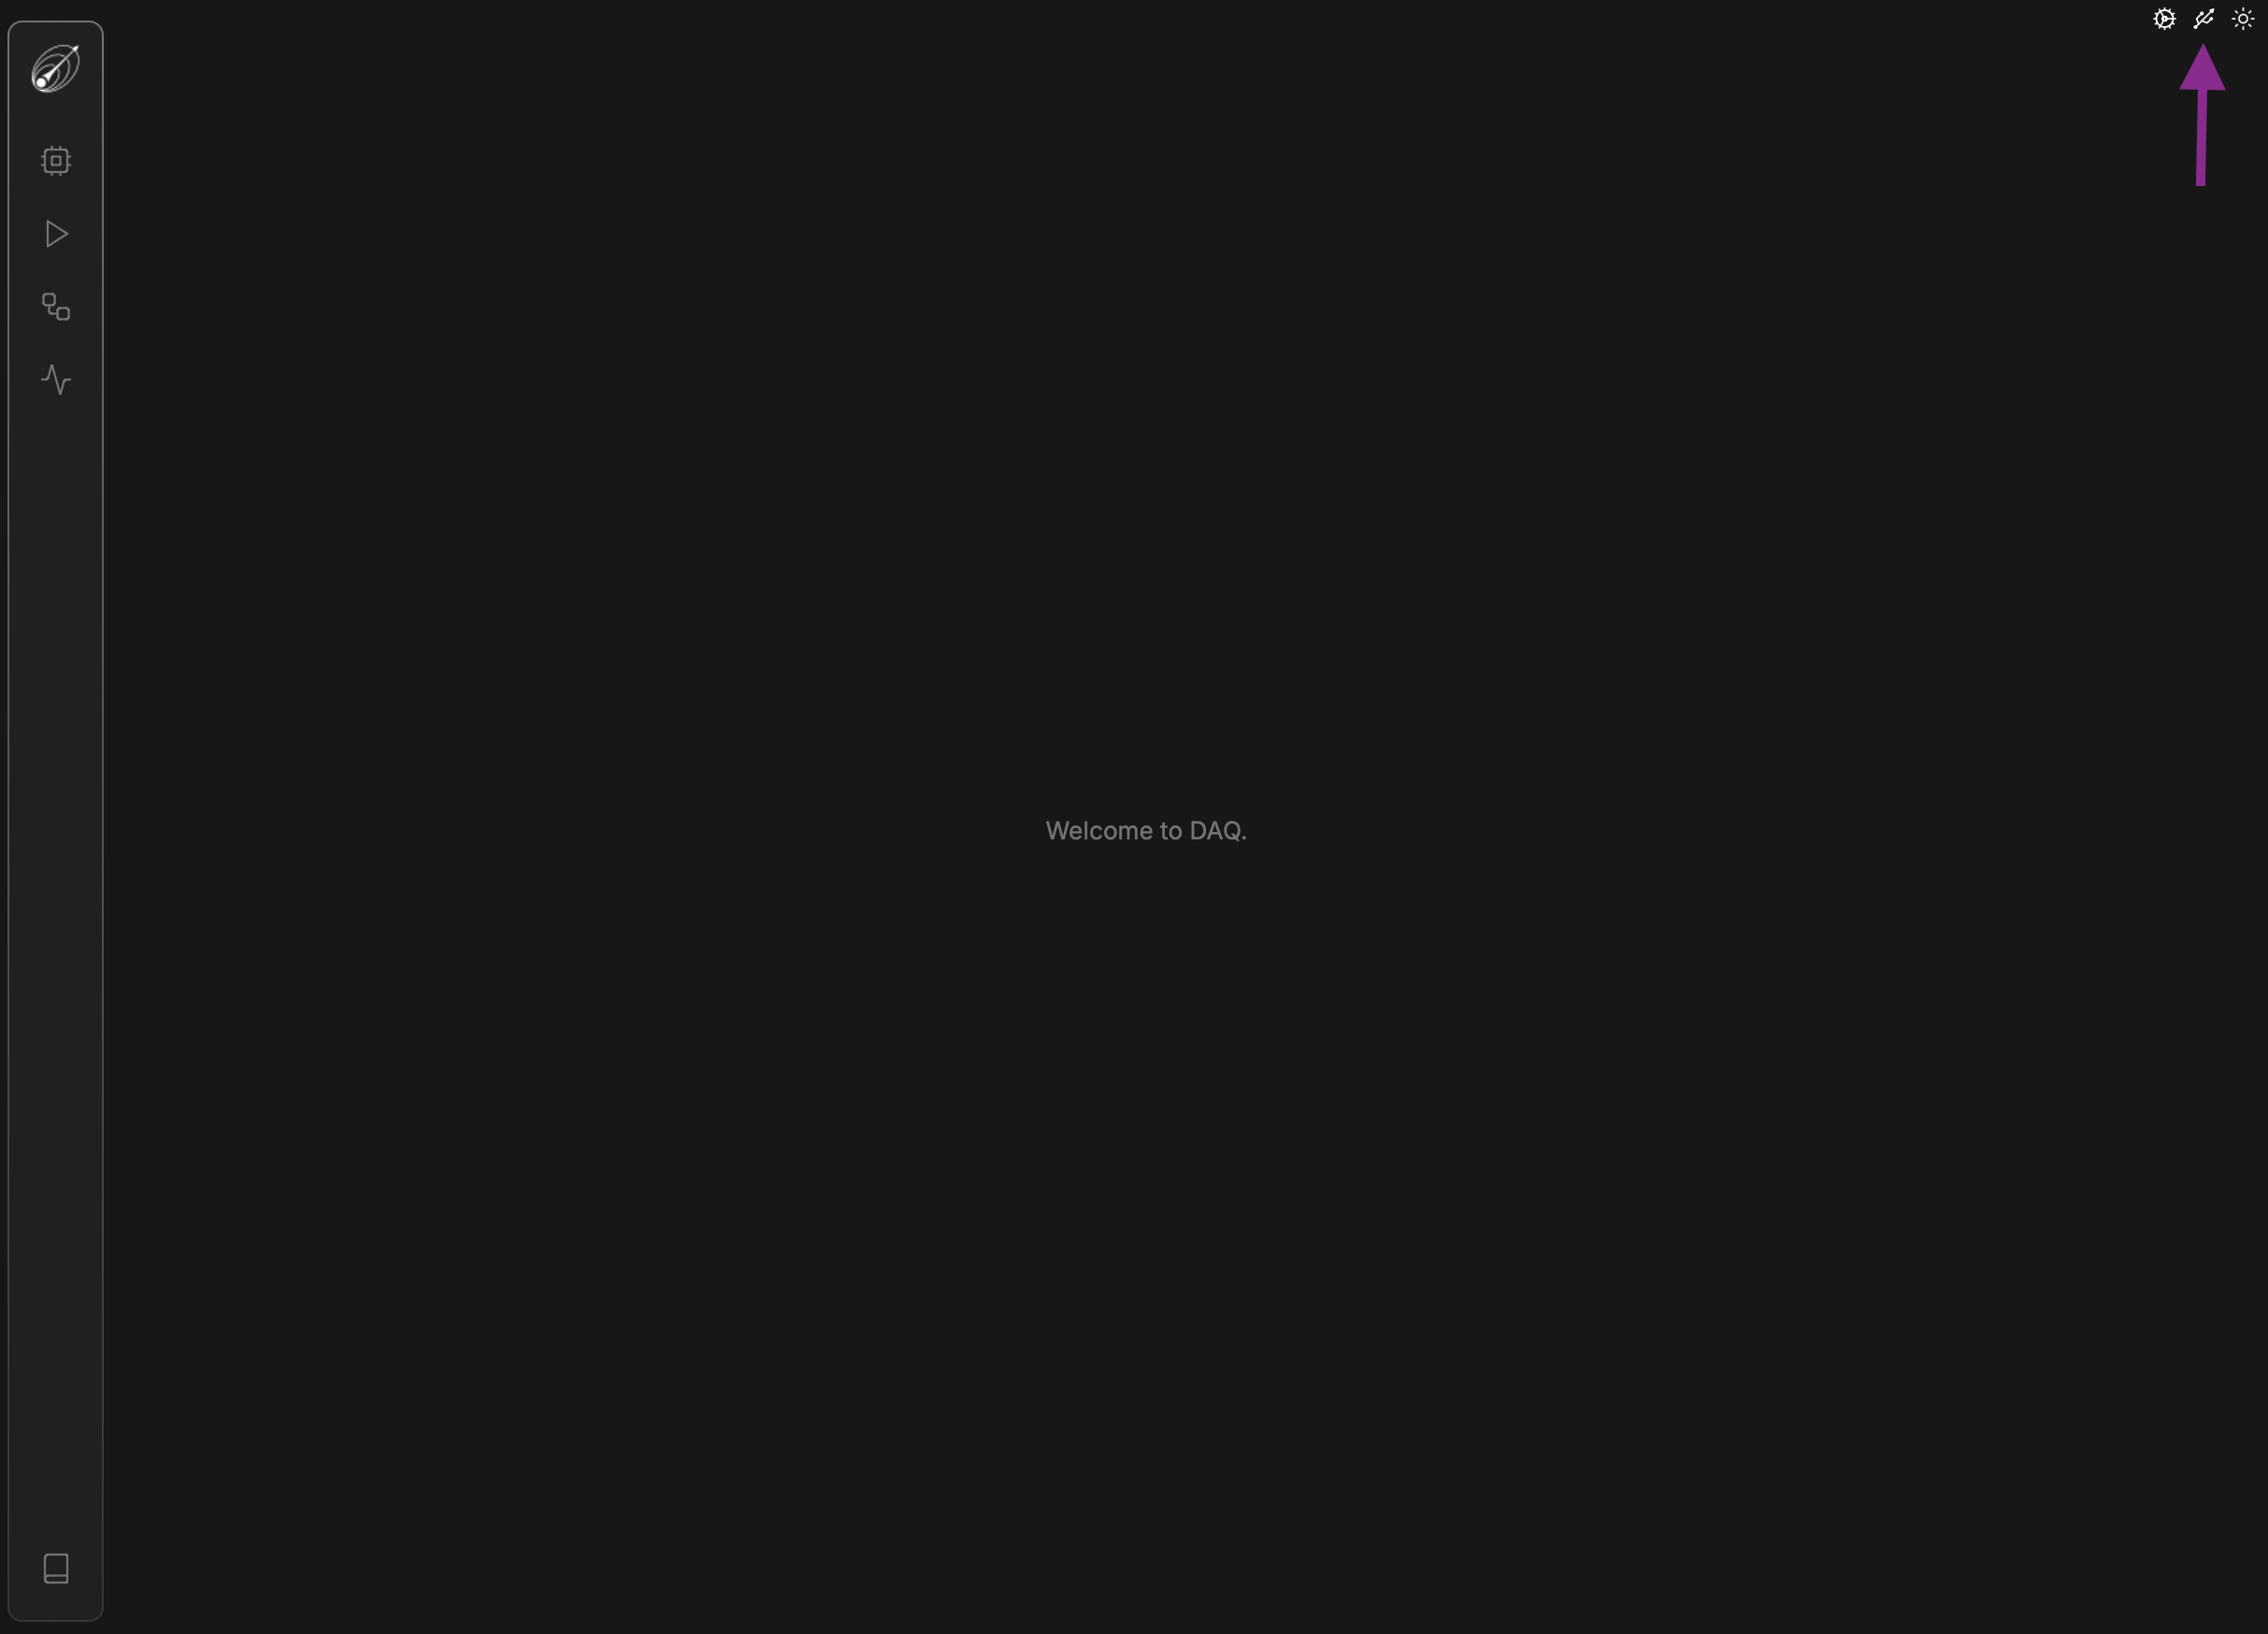
- Start the DAQAstra application if it isn't running already. Then click on the
USBicon to open the recovery function in the UI.
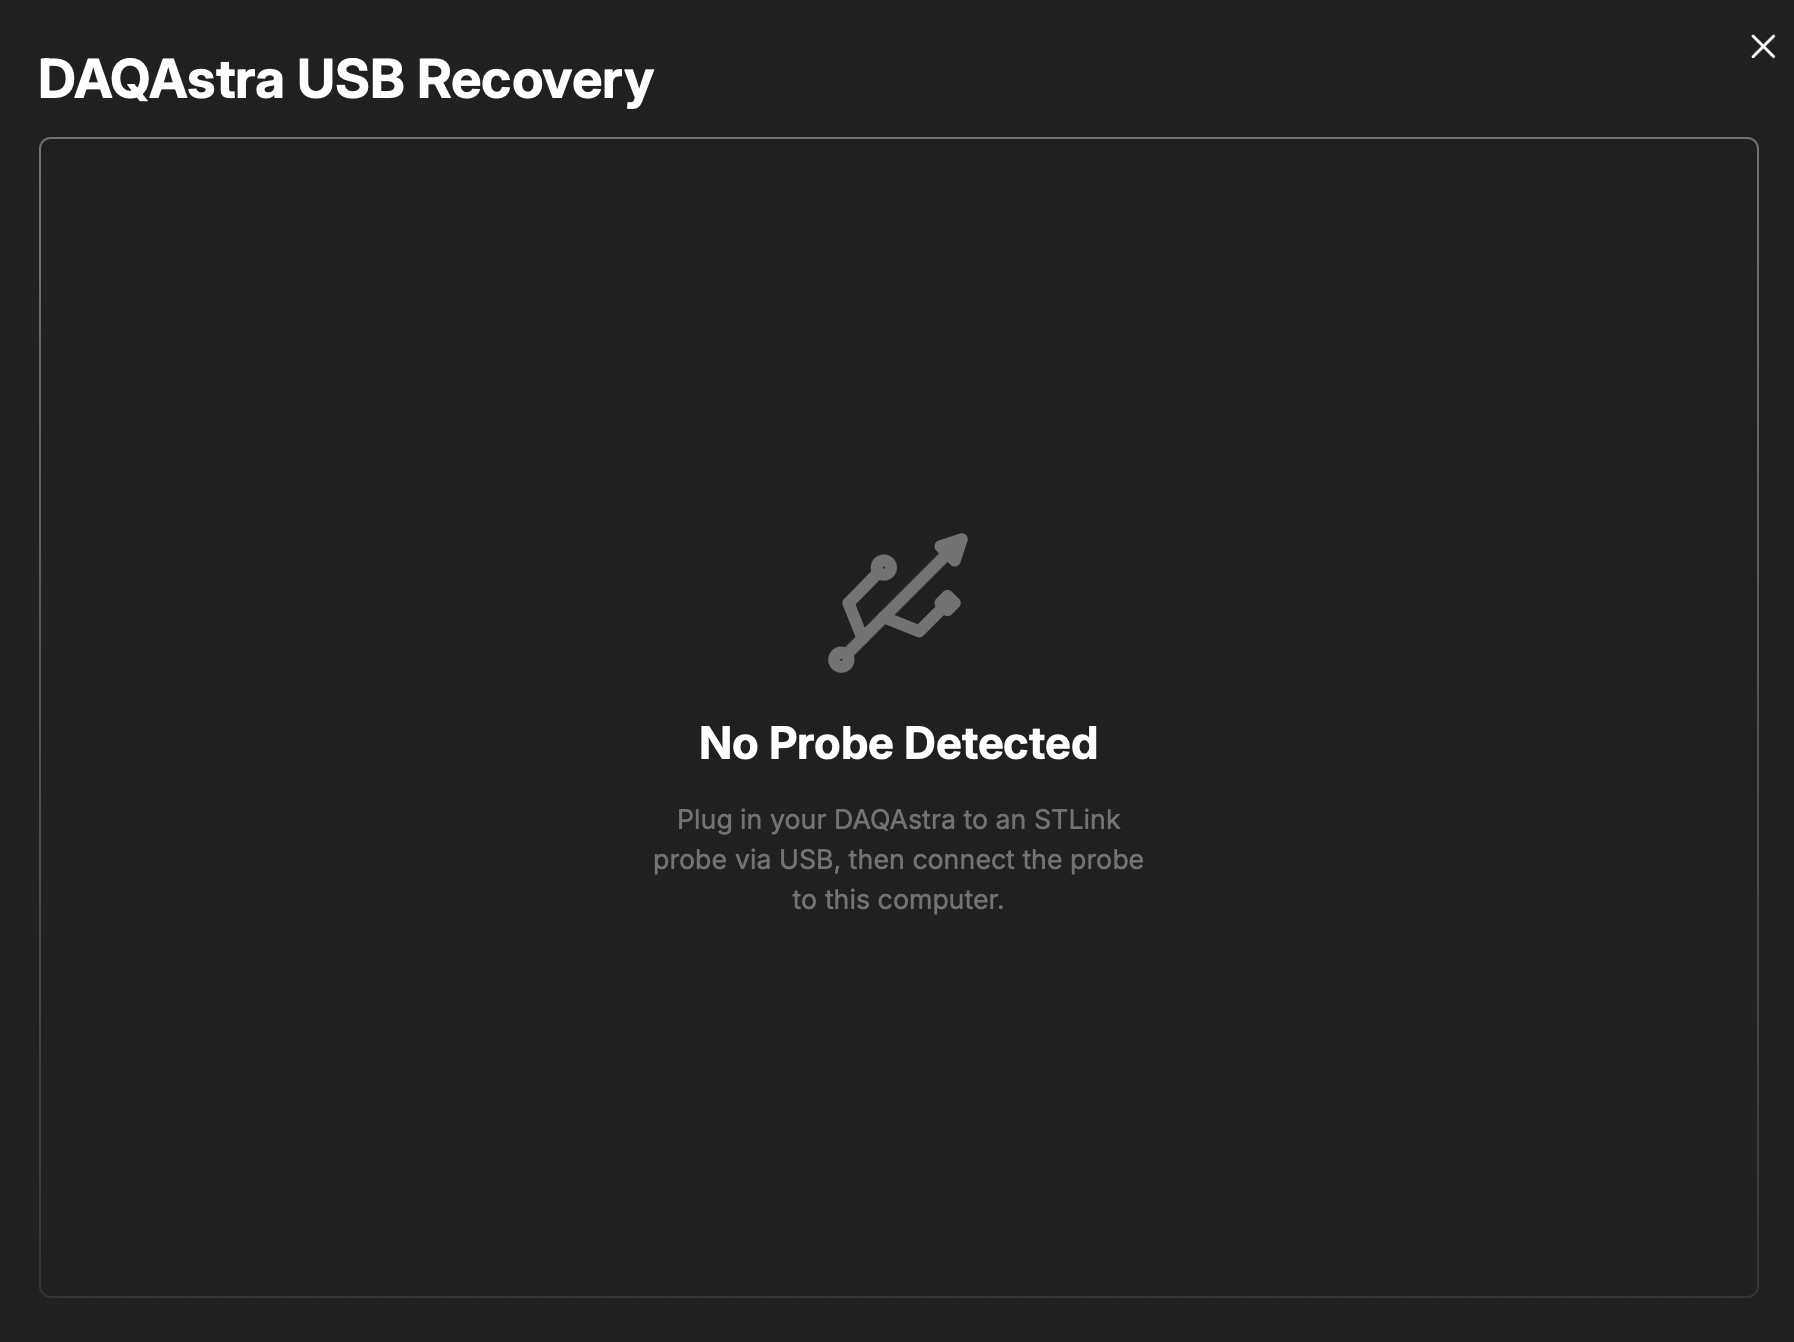
- At this point, the STLink probe is not plugged in, so the following page will show up.
- Plug in the STLink to the machine hosting the DAQAstra application, then power the DAQAstra via the chosen power source. The STLink should show up and the page should update to show the following page.
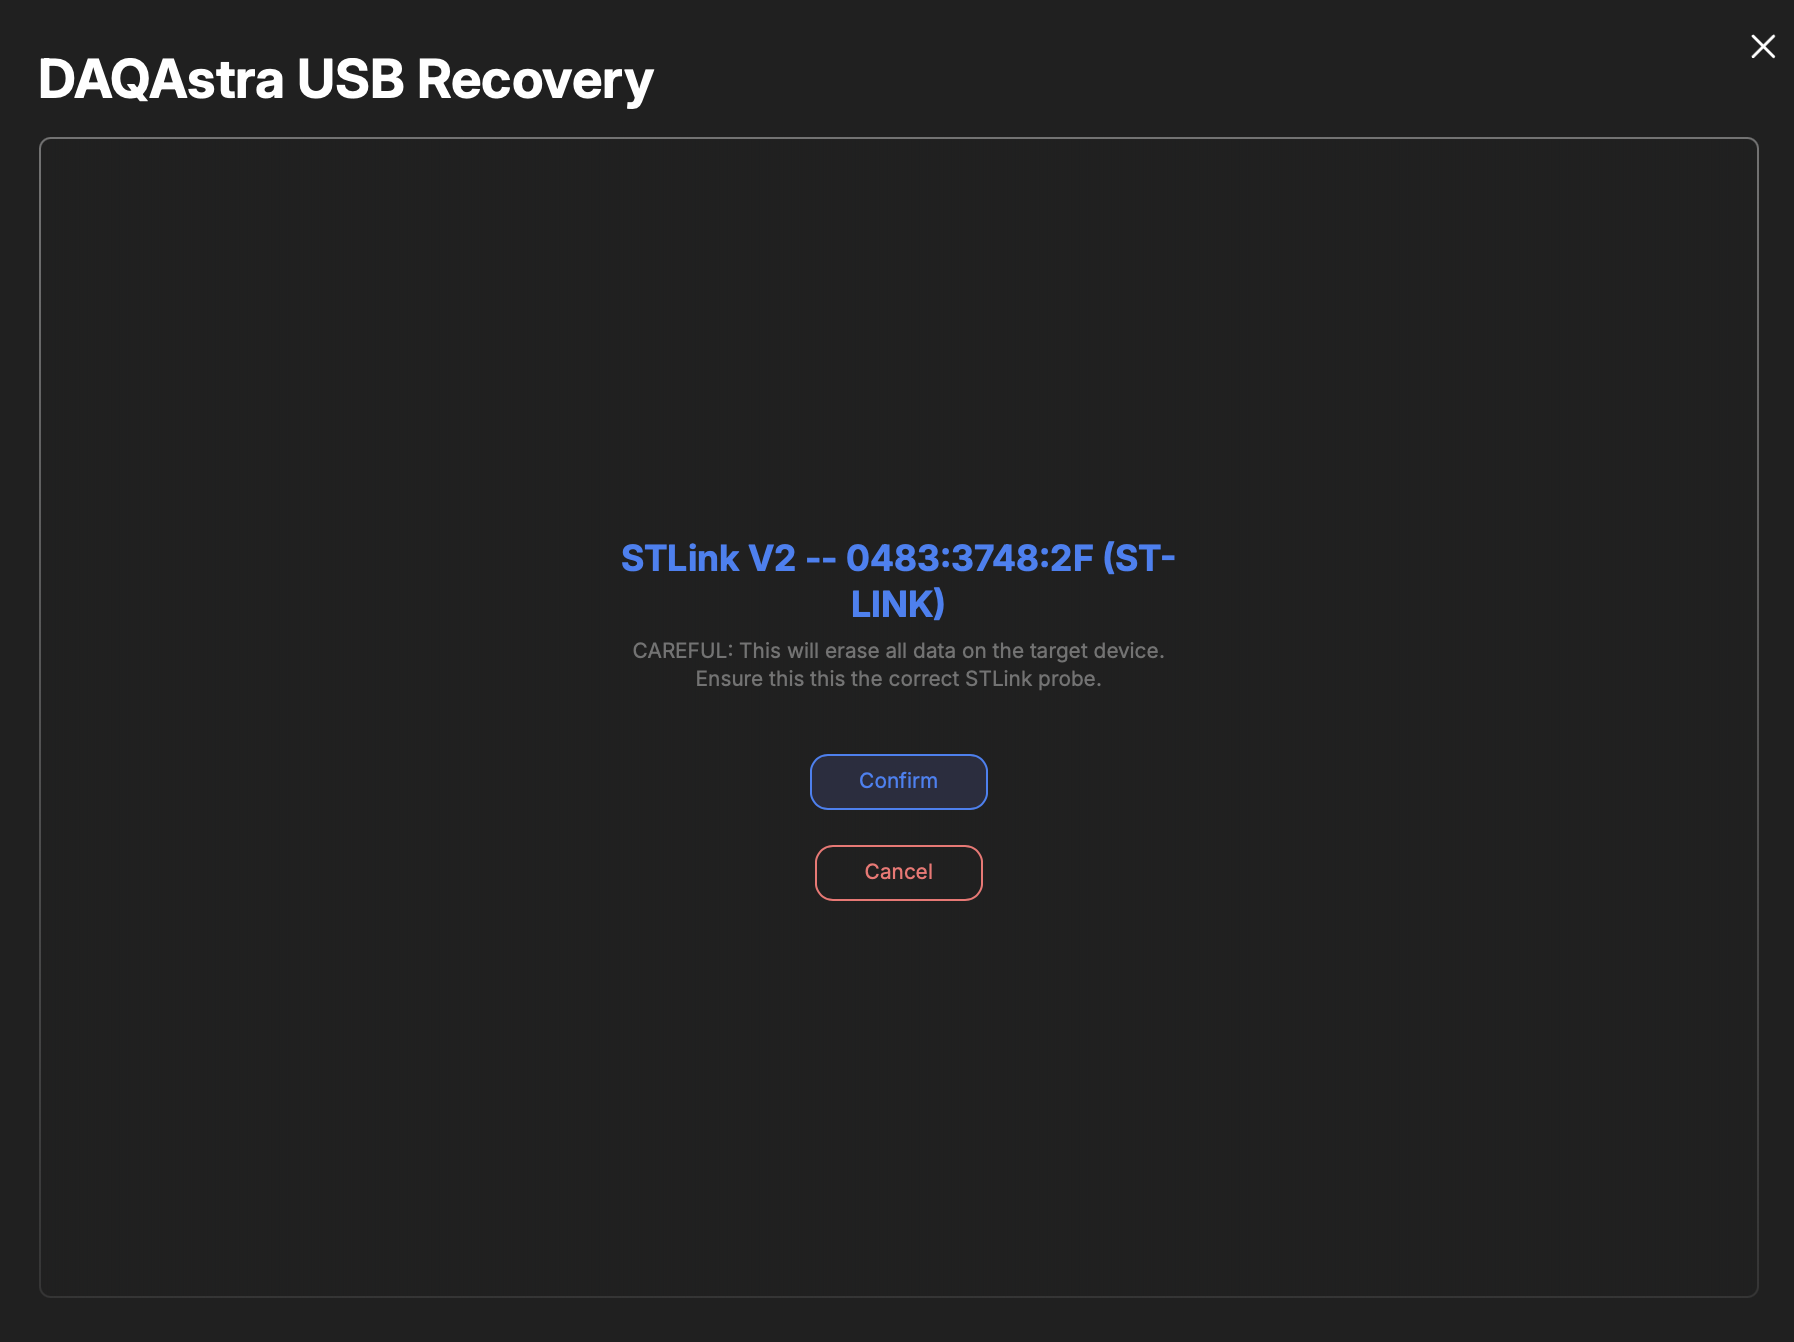
- Click
Confirm, then select the hardware revision of the target DAQAstra.
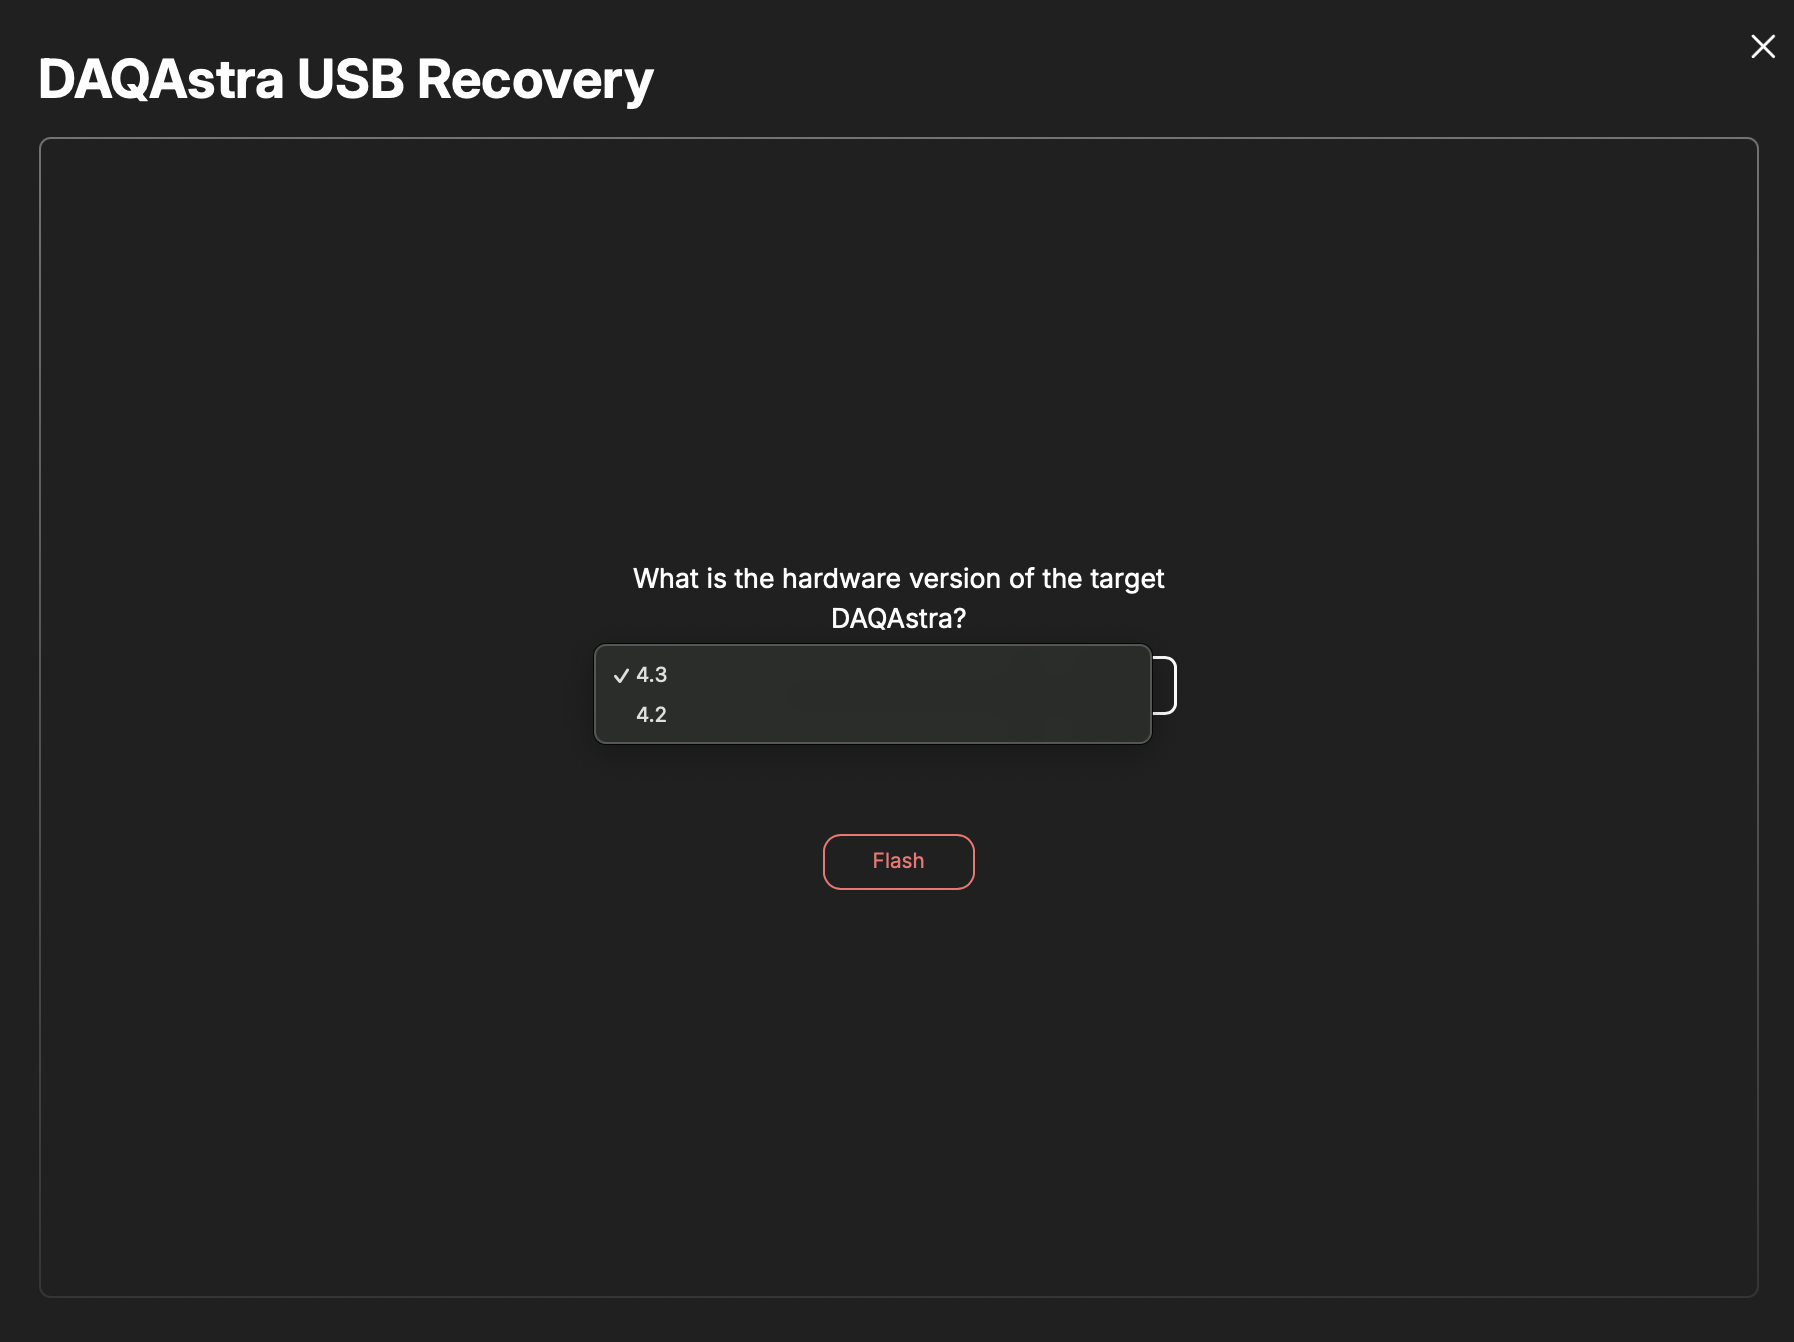
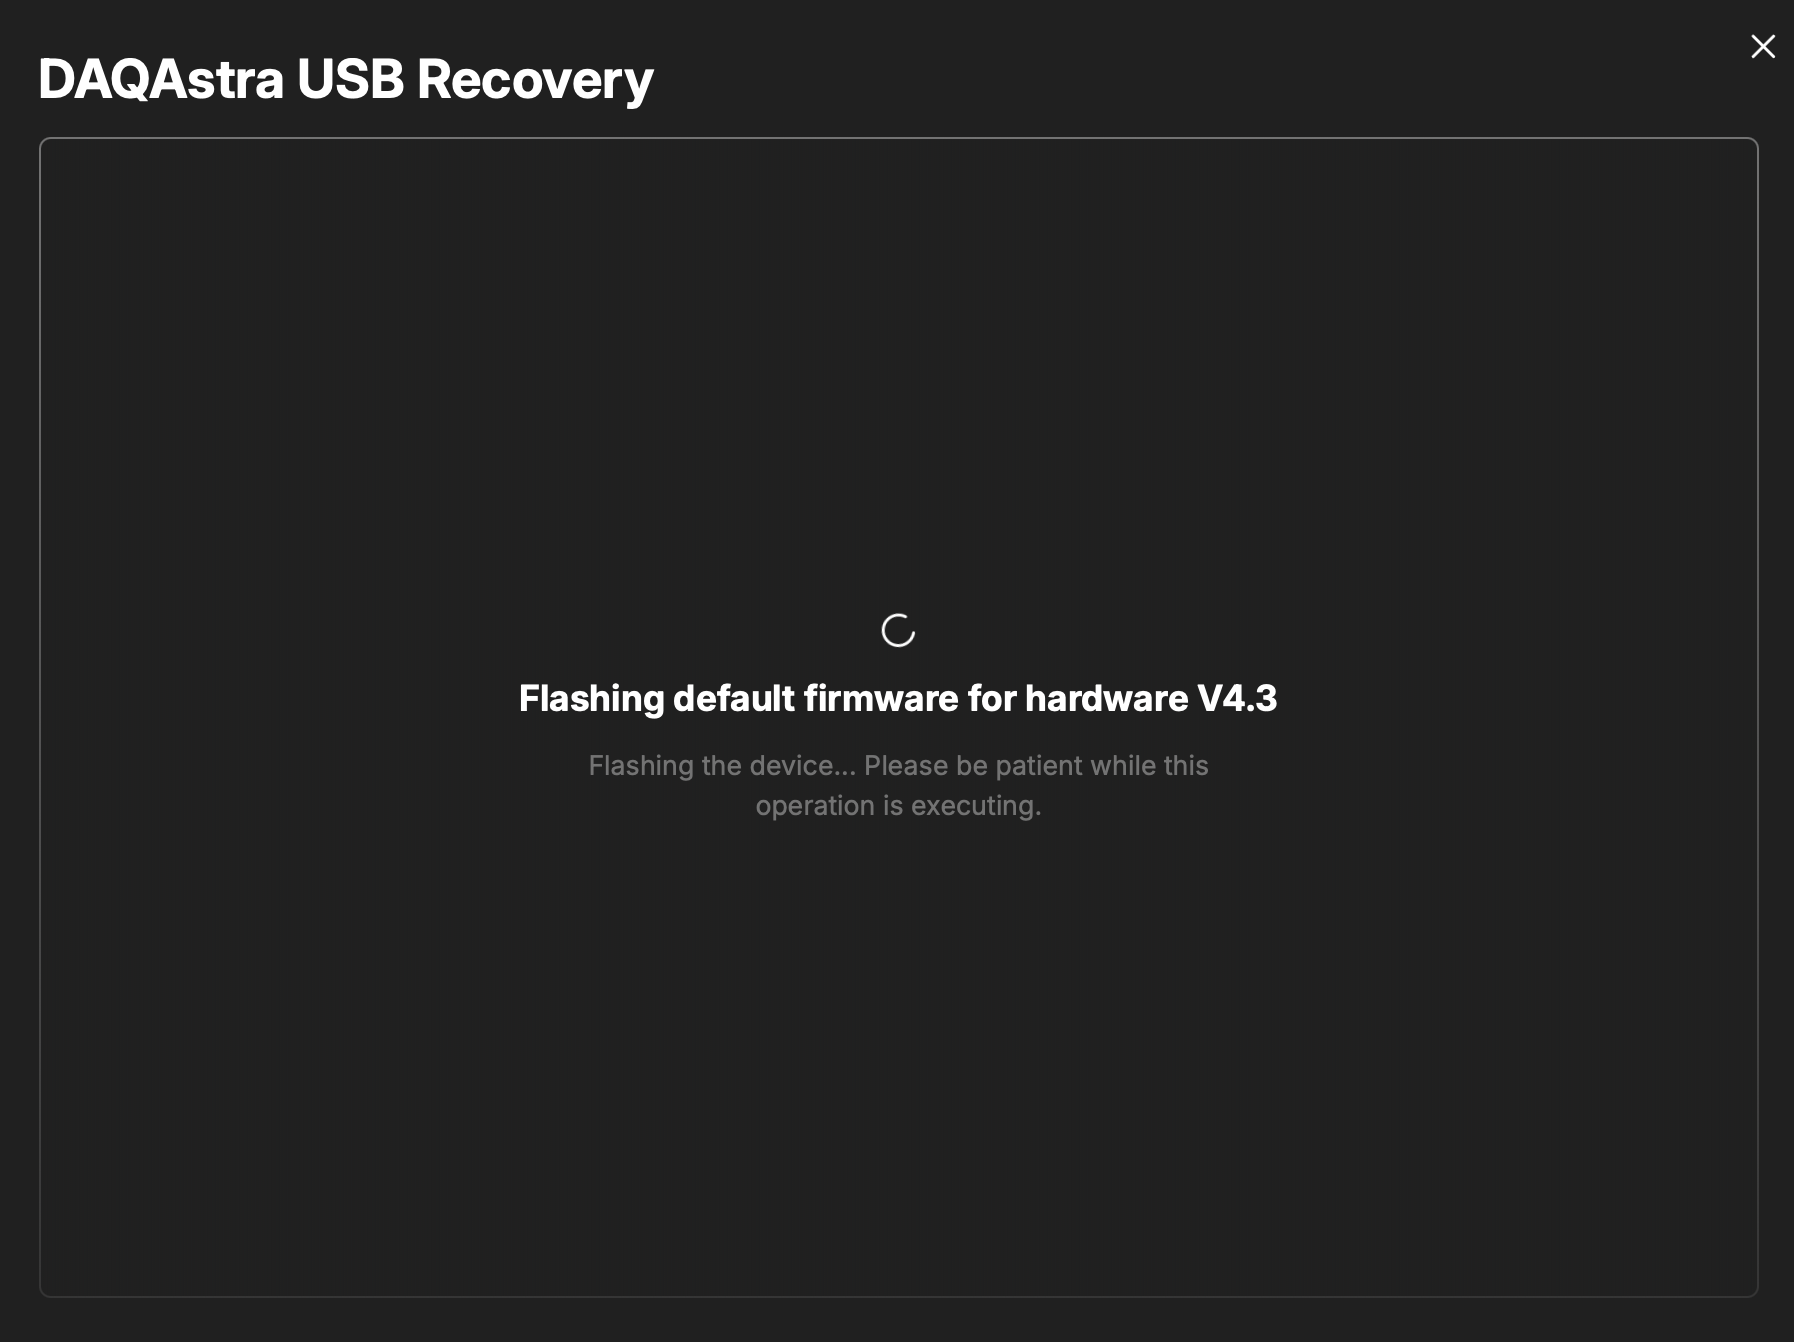
- Finally, press
Flashand wait until the result page opens.
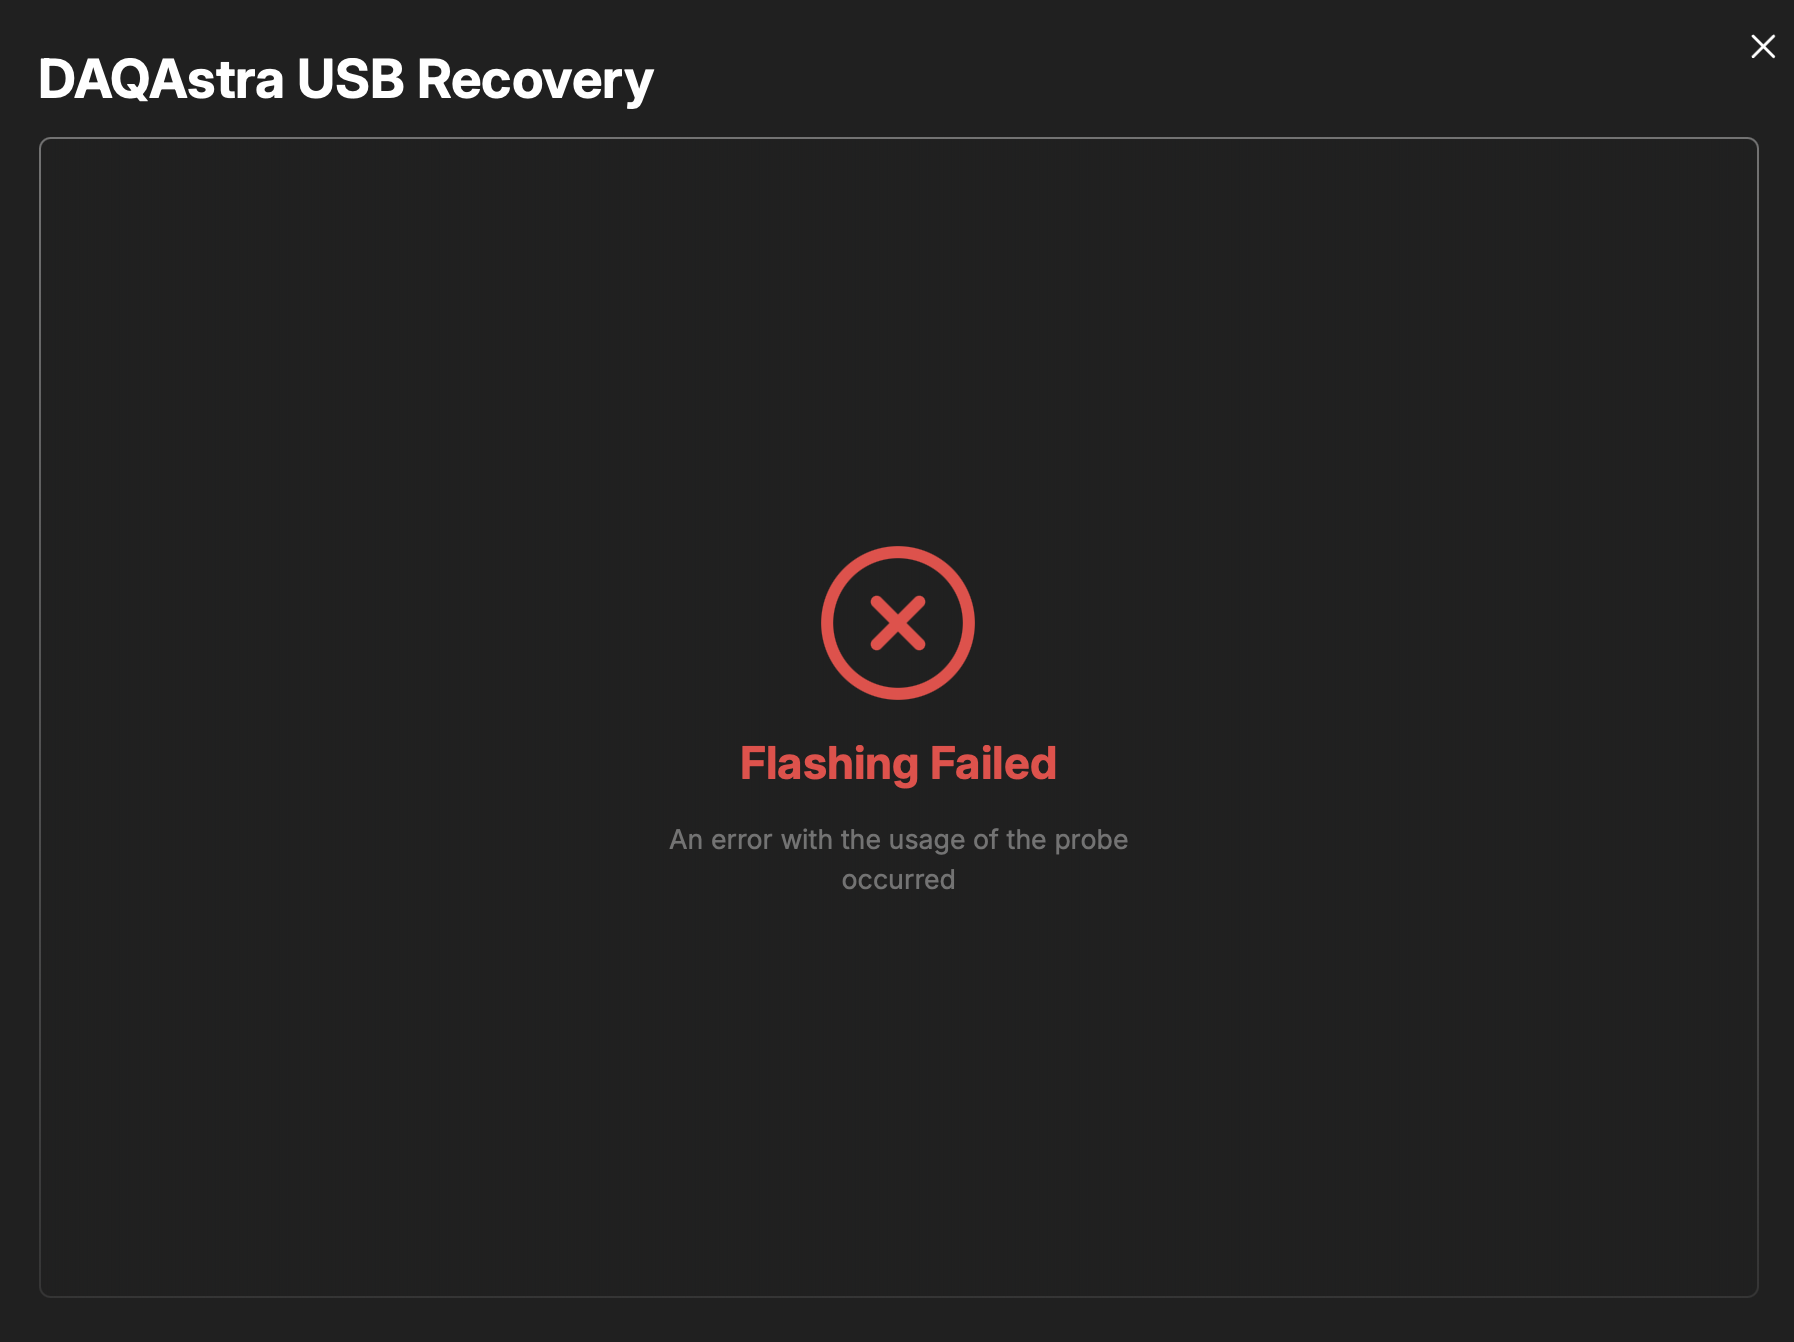
If flashing fails, try navigating back to the point right before pressing
Flash. Press the reboot button on the DAQAstra then clickFlashagain.
- If the firmware update succeeds, you'll see the following page.
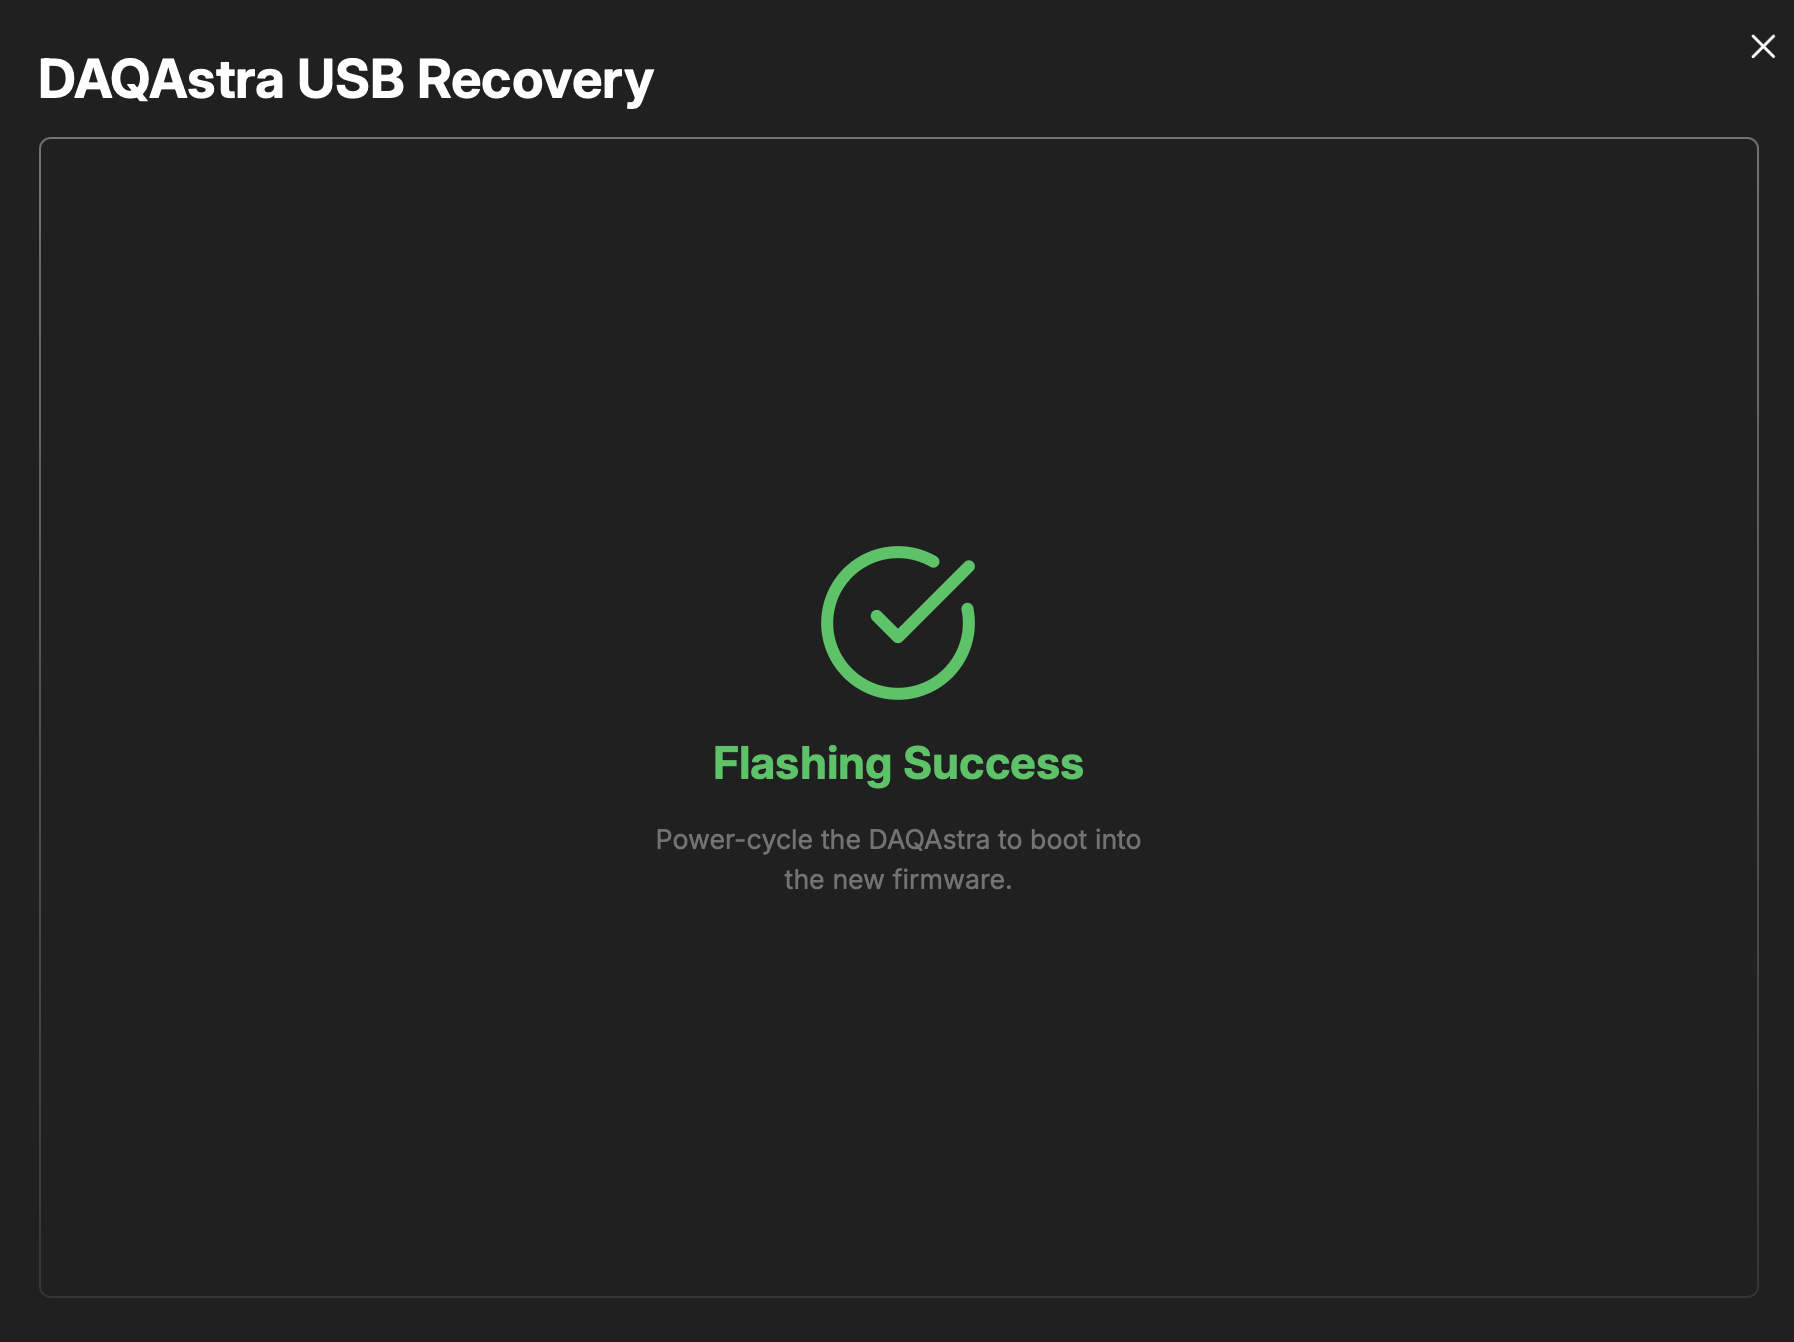
Before removing the STLink probe and replacing the lid of the enclosure, verify the DAQAstra connects to your application.
-
Plug in the ethernet cable into the DAQAstra and the network on which the application is running (whether it be a switch for your LAN with DHCP or via Link-Local).
-
After some time, the Blue LED on the DAQAstra should turn off, indicating a connection to the host application, and a new device should appear under
Factoryin theDevice Pool.
Finally, remove power and unplug the STLink probe from the DAQAstra. Replace the enclosure lid and you may now proceed to use the DAQAstra as you see fit.
If no connection occurs, verify your network setup against the guidelines in
Connecting DAQAstra. If everything checks out, reach out to any of the following engineers at TransAstra for support.